How to repair a front brake caliper
How to repair a brake caliper using our repair kits.
IT IS VERY IMPORTANT that the gasket is in perfect condition. If it is deteriorated, it will leak and lose its braking. Also, if the piston does not back up properly, a rapid wear of the brake pads takes place and can produce noises.
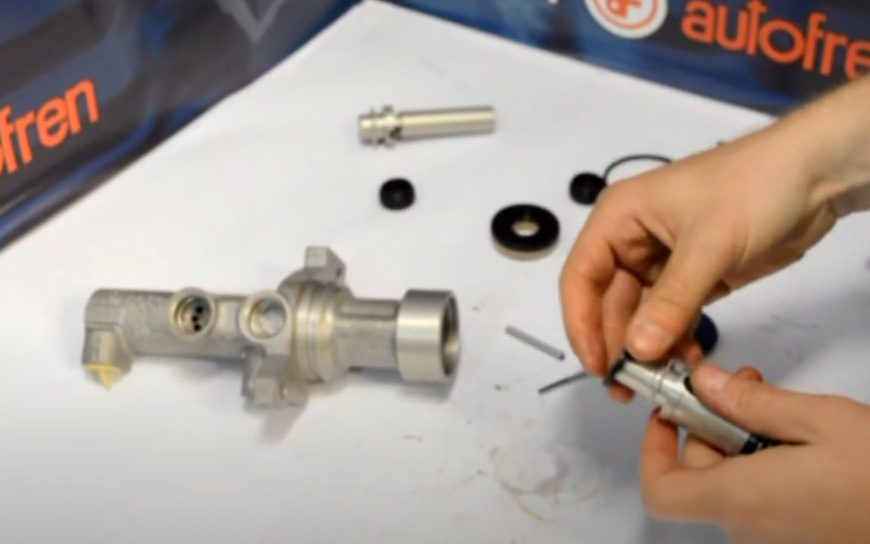
It is very important not only to change the gasket but also all the parts that make up our kits.
The piston boot prevents dirt from entering the piston cavity.
The guide boots prevent dirt from entering the guides.
The guides are the ones allowing the caliper to glide and, therefore, the pads break the disc. Deteriorated guides produce noise and unequal wear out and tear of the pads.
The rest of the parts of our kits complement the repair of the caliper and favour the optimal use of the brakes.
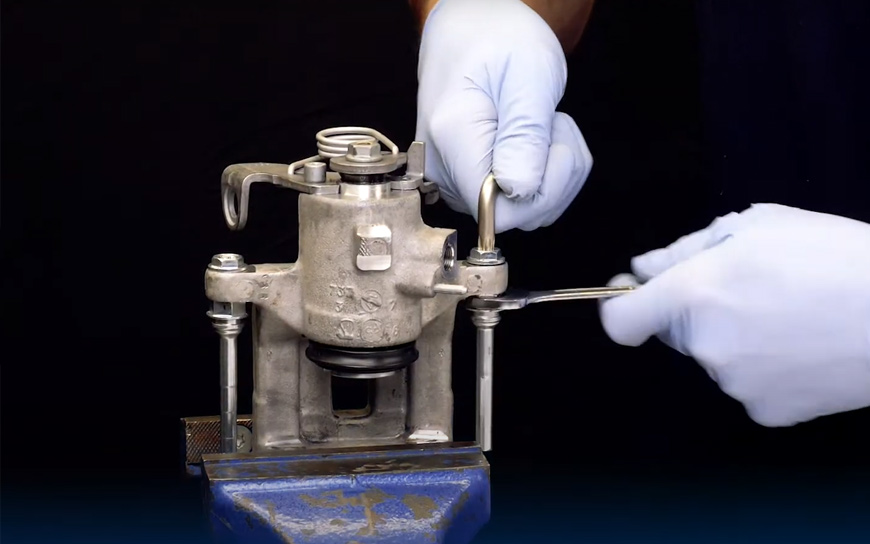
- Dismantle both parts of the caliper (opposed piston caliper) or the support body of the caliper (floating type caliper).
- Disassemble guides, guide boots and anti-vibration parts.
- Remove the boot and the piston using compressed air. ¡CAUTION! Place a wooden wedge between the piston and the caliper in order to cushion the blow when the piston comes out.
- Remove the gasket with Seinsa’s tool. Clean the inside of the caliper only with alcohol or brake fluid.
- Lubricate the gasket groove with brake fluid. Place the joint using your finger.
- CoPlace the boot:
- Type A: Fit it into the piston slot. Introduce it into the caliper. Place the boot into the slot of the caliper and adjust it with a clamp.
- Type B: Place the boot in the piston (not in its slot) and introduce it in the caliper. Adjust the boot to the caliper.
- Insert the piston centrally, taking care NOT to pinch the gasket.
- Replace the guides, if it has a joint, place it, and put the guide boots making sure that they are correctly adjusted, and they do not come off with the movement of the caliper.
- Replace the bleeder.
- Lubricate the guides.
- Change the anti-vibration part (BAKs) with every pad change both the slot of the body where the pads are supported and the plates, pins or wires on the caliper to prevent unwanted noises and vibrations.
- Bleed the system then put the bleeder cap.


