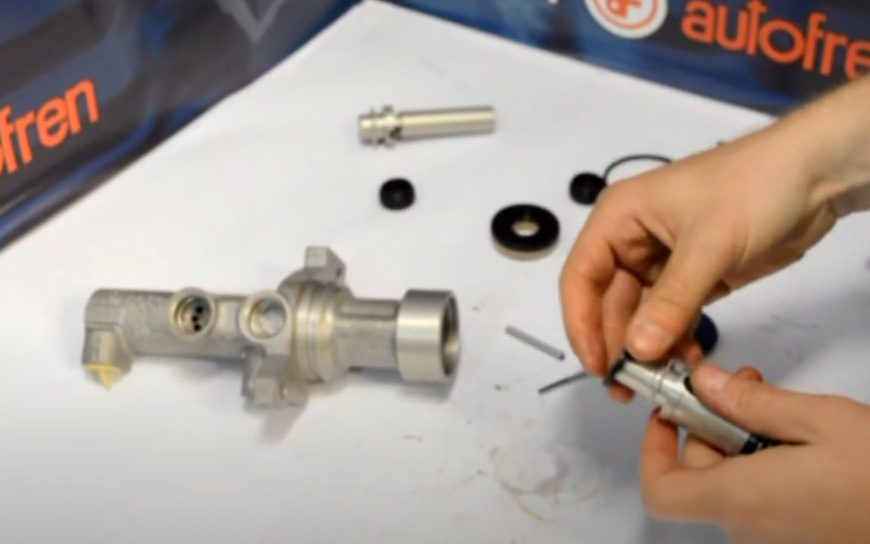
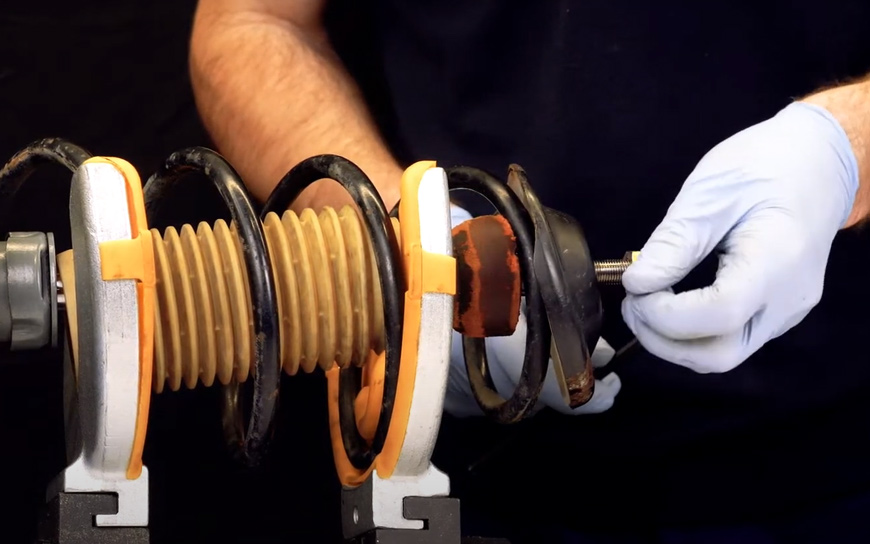
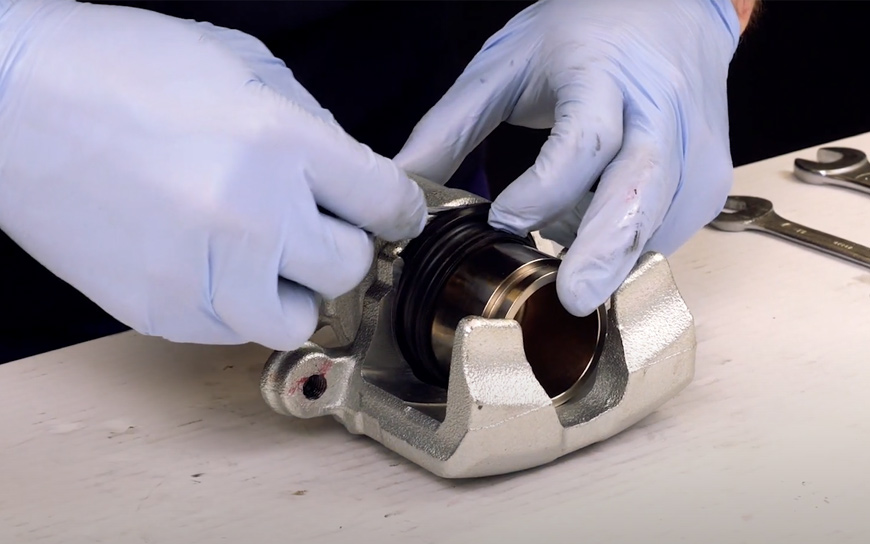
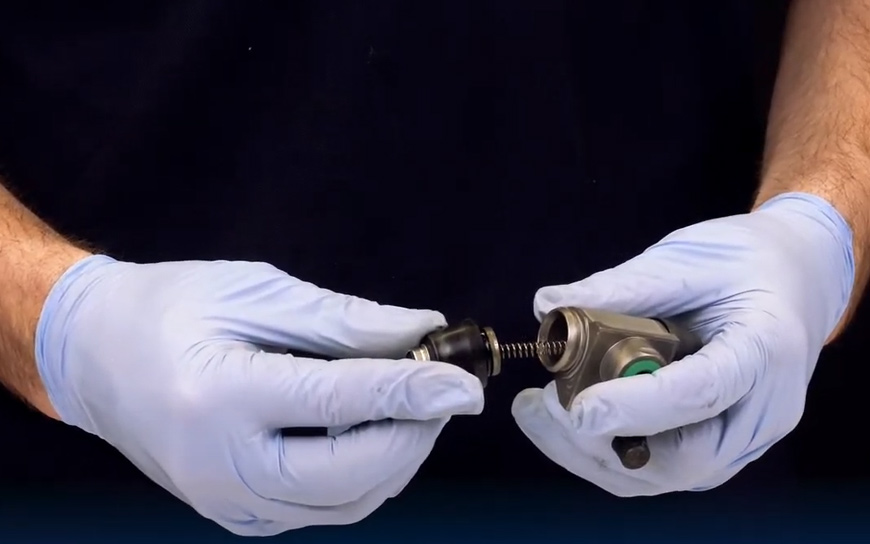
- Disassemble the caliper body support
- Disassemble guides, guide boots and anti-vibration parts.
- Release the spring
- Release the lever.
- Remove the boot from the lever.
- Unscrew the piston using a special tool for this purpose.
- Remove the boot.
- Remove the internal circlip.
- Remove the internal mechanism of the caliper.
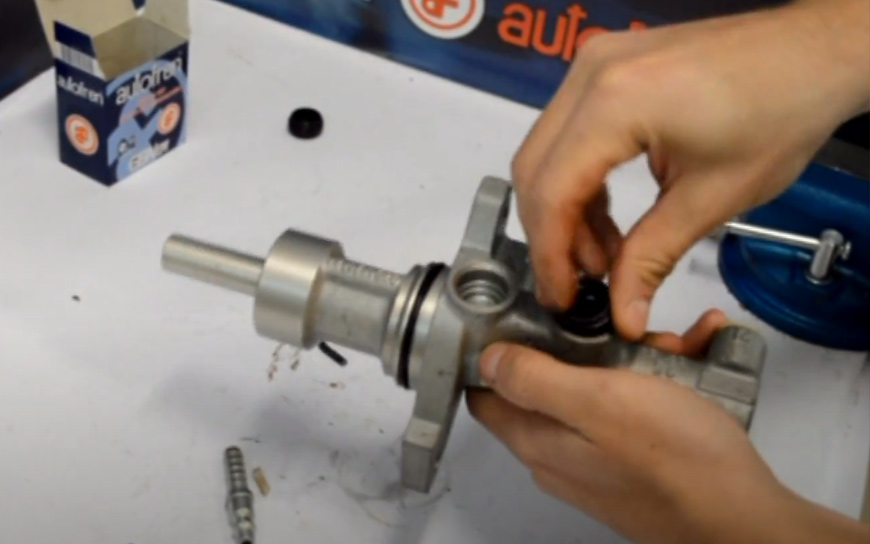
- Replace the O-ring.
- Remove the gasket with Seinsa’s utility. Clean the inside of the caliper only with alcohol or brake fluid.
- Lubricate the slot with brake fluid. Place the joint using your finger.
- Assemble the internal mechanism of the caliper and the circlip.
- Place the boot:
- Type A: Adjust it in the slot of the piston. Introduce it in the caliper. Place the boot in the slot of the caliper and adjust it with a clamp.
- Type B: Place the boot in the piston (not in its slot) and introduce it in the caliper. Adjust the boot to the caliper.
Introduce the piston screwing it with the tool. We recommend our complete piston with mechanism. Avoid the workshop having to dismantle the interior of the piston and above all, check the assembly and the functioning of our mechanisms. An incorrect assembly implies there is a failure at the handbrake.
- Replace the bleeder
- Put on the boot of the lever and lubricate
- Attach lever and spring
- Replace the guides, lubricate them and place the guide boots verifying that they are correctly adjusted, and they do not come off with the movement of the caliper
- Change the anti-vibration pieces (BAKs) with every pad change both, the slot of the body where the pads are supported and the plates, pins or wires on the caliper to prevent unwanted noise and vibrations.
- Bleed the system then put the bleeder cap.


